

How to Use a Self Watering Plant Pot Without Overwatering
You're leaving for a few days, your calendar is full, and the peace lily on your table is already looking thirsty. A self-watering plant pot can make that routine calmer, but it isn't a magic container. The best results come from matching the plant with the right soil, establishing the roots properly, and refilling with care.
A reservoir-based pot or watering globe stores water below or beside the planting mix. A wick, porous interface, or direct soil contact then lets moisture move upward as the mix dries. There are no timers, batteries, or apps involved. You're working with a simple natural process and a routine you can learn quickly.
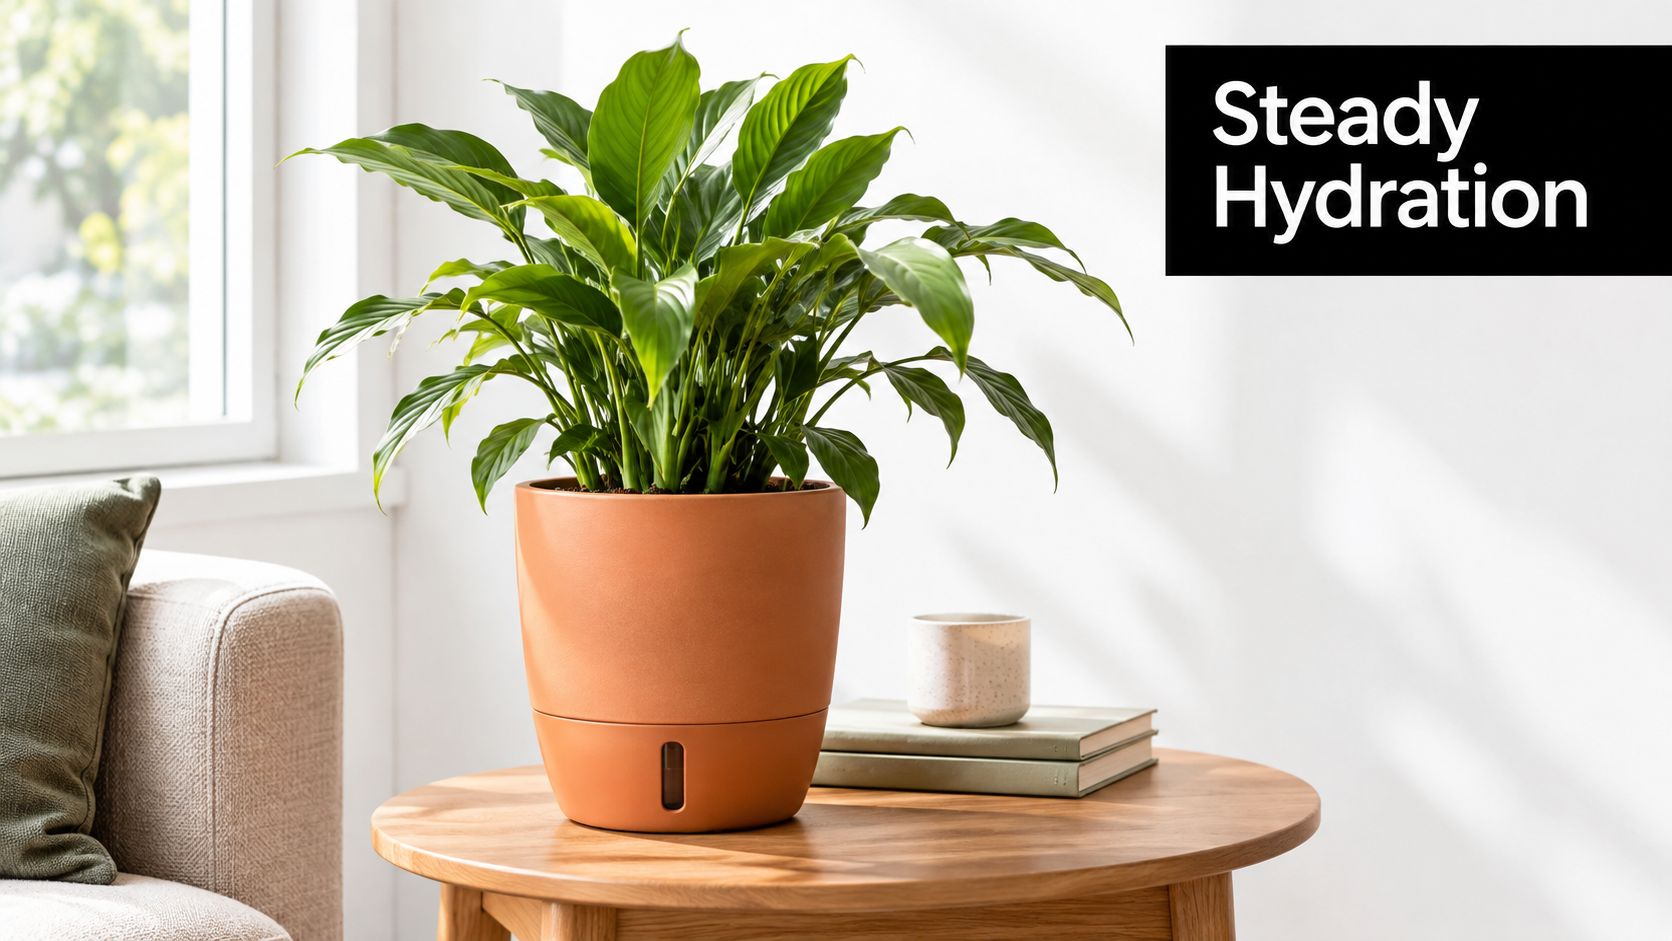
Self-watering designs have been used in documented commercial and hobby gardening systems for at least a decade, including designs described in a 2010 potted-plant system that used a reservoir and capillary pathway. You can read about that early architecture in this documented self-watering plant system.
They're especially helpful for busy plant owners, apartment dwellers, office greenery, and travelers. The important detail is timing. A newly potted plant usually needs top watering while its roots establish, rather than immediate dependence on the lower reservoir. This guide will show you how to use a self-watering plant pot, prepare a globe, recognize the right refill rhythm, and correct common flow or moisture problems without fuss.
Introduction to Self Watering Pots and Globes
A self-watering pot has two working areas. The upper area holds the plant and potting mix. The lower area stores water. A globe follows the same general idea in a smaller insert, releasing water into the surrounding soil as the soil dries.
That makes both systems different from pouring water over the soil on a fixed schedule. Instead of creating a sudden wet cycle at the surface, you're giving the plant access to a nearby moisture source. The system still depends on your attention, but you'll usually spend less time guessing when to water.
The market's growth reflects that practical appeal. Independent estimates place the global self-watering plant pot market at about USD 509.9 million to USD 0.61 billion in 2025, with projections of roughly USD 1.57 billion to USD 1.94 billion by 2033 to 2035, depending on the report. Those estimates appear in recent self-watering plant pot market research, and they point to growing interest in low-maintenance watering for homes, offices, and urban indoor gardens.
The reassuring part: you don't need to master complicated equipment. You need a good soil connection, a suitable plant, and a refill habit based on what you observe.
A traveler might fill a globe before leaving. Someone with a busy workweek might use a reservoir pot to smooth out missed watering days. An apartment gardener might choose a decorative globe for a small pothos or peace lily. If you're comparing globes with reservoir planters, this guide to how self-watering globes work offers another useful overview.
The system works best when you see it as a support tool, not a replacement for plant care. You'll still check the leaves, feel the soil, and adjust for light and temperature. That small amount of observation is what keeps steady moisture from becoming excess moisture.
How Self Watering Systems Keep Soil Balanced
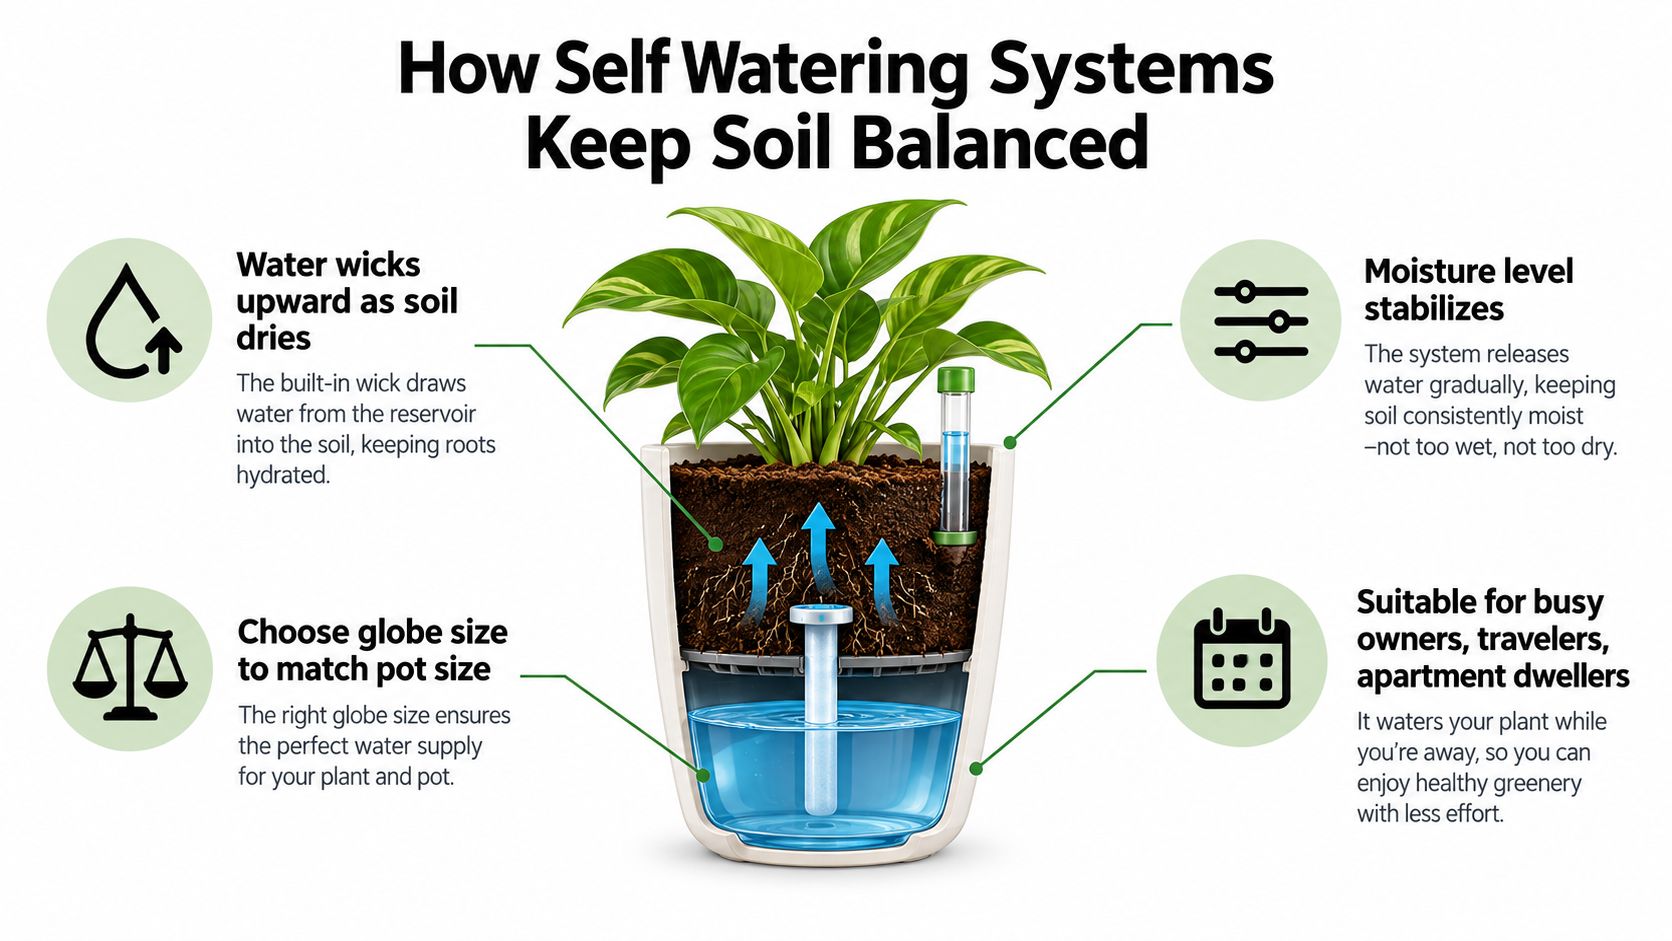
The basic movement is easy to picture. Water sits in a lower reservoir, and a wick or porous contact point connects that water with the planting mix. As the upper soil dries, moisture moves upward through tiny spaces in the mix. As the soil becomes moist again, that movement slows.
This process is called capillary action. It's similar to the way a paper towel draws water away from a spill. A self-watering pot doesn't pump water upward, and a globe doesn't measure the plant's needs electronically. Moisture travels through the soil when the structure allows it.
Match the system to the plant
Start with the plant's preferred moisture level. Tropical houseplants and many herbs often appreciate a consistent supply. Succulents and other plants that prefer dry soil need more caution because a constantly damp root zone may not suit them. Recent self-watering troubleshooting guidance specifically recommends an airy, chunky mix and warns that the wrong plant or an overfilled reservoir can reduce airflow around roots.
A globe's size should also suit the container. A small globe is easier to control in a small pot, while a larger planter may need a larger water source or a reservoir system designed for its volume. Don't choose capacity by appearance alone. Consider the plant's size, the potting mix, the light level, and how quickly the container dries.
Give moisture somewhere to move
Dense soil can hold too much water in one place and prevent air from reaching the roots. A chunky, aerated container mix creates spaces for both moisture and airflow. Avoid compacting it tightly around the plant or filling a reservoir beyond its intended level.
Self-watering containers work most reliably when the planting area and water supply remain separated by a perforated platform or similar barrier. An overflow hole helps stop the mix from sitting directly in standing water. University of Maryland Extension guidance describes adding about 4 gallons of moistened medium and 2 to 3 gallons of water to a self-watering container, with roots drawing moisture upward through the mix. The University of Maryland Extension guidance on self-watering containers also emphasizes using the reservoir as the primary source after setup.
Setting Up Your Globe for First Time Use
Before inserting a watering globe, make the soil evenly damp. Dry mix can resist water at first, leaving gaps around the globe tip and weakening the flow. Water from the top until the soil feels moist throughout, but not muddy or heavy.
If you're planting something new, settle the roots into the damp mix and firm the soil gently. Don't press it down hard. You want the globe tip to touch the surrounding soil while leaving enough small spaces for moisture to travel.
Prepare the globe
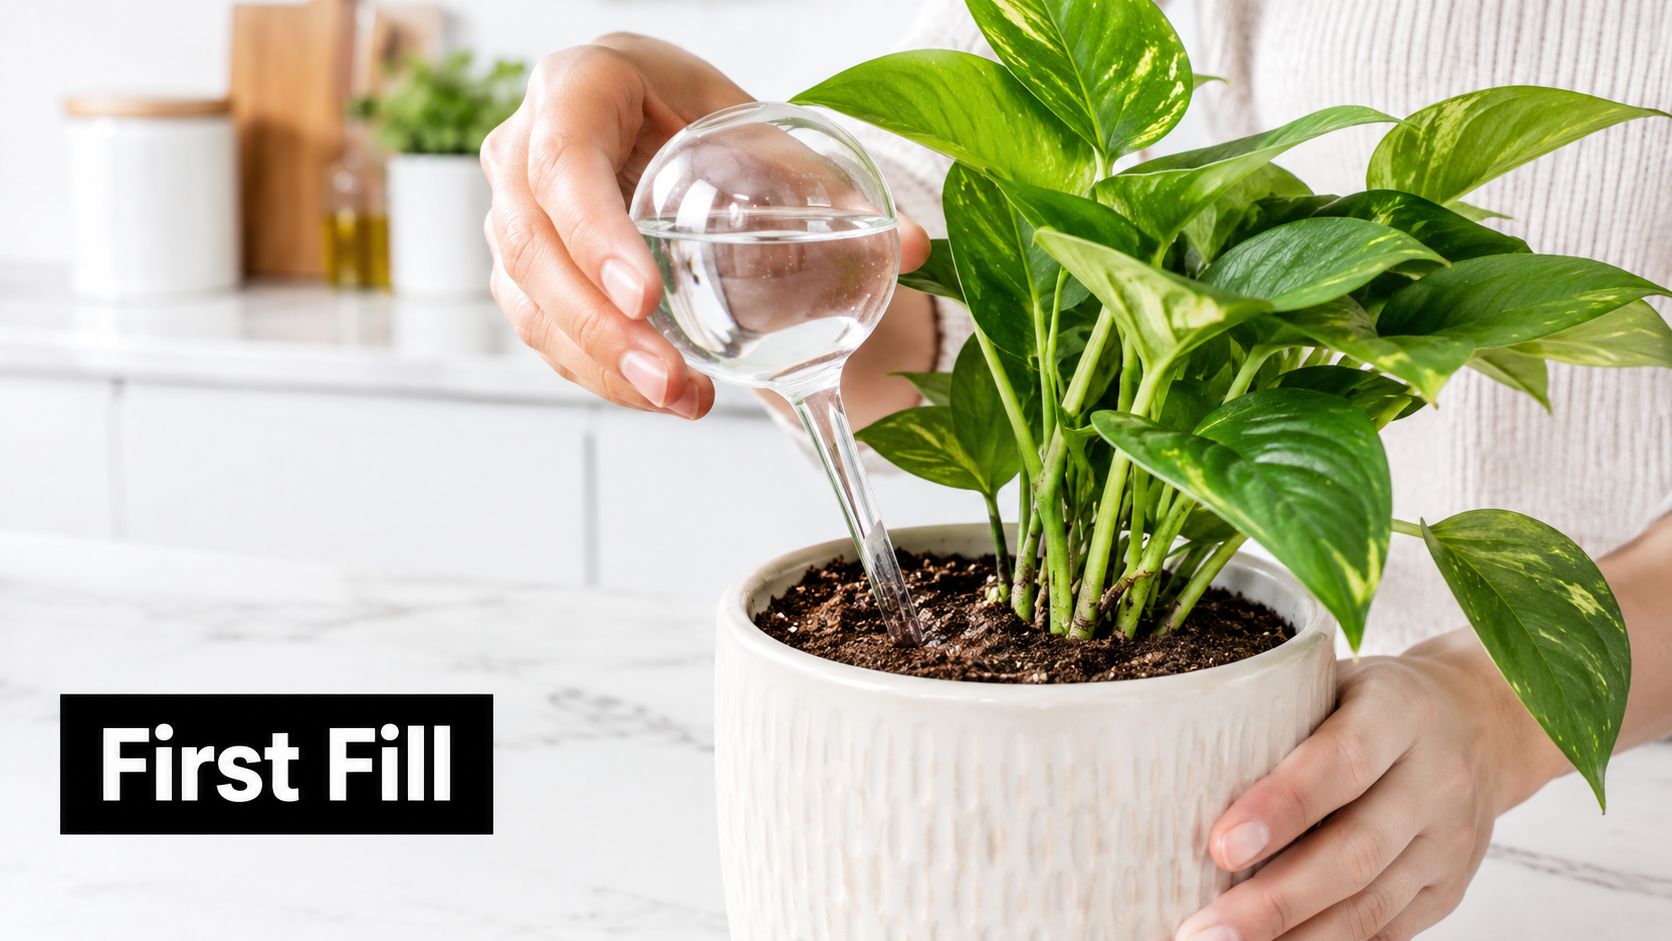
Fill the globe completely with clean water. A partially filled globe contains more air and may not release water smoothly. Hold it upright while filling, then check that the opening and tip are clear.
If your globe includes a tip cover or adapter, choose the part that matches your soil. A cover can help keep fine mix from entering the opening. An adapter may make insertion easier in firm or coarse soil and can help moderate the flow.
Make a gentle opening
Don't force the glass tip straight into compacted soil. Use a pencil, chopstick, or similar narrow tool to create a pilot hole. Make the hole deep enough for the tip to sit securely, but avoid pushing it directly against the plant's main roots.
Insert the globe at a slight angle. The angled position gives the tip a stable seal and reduces the chance that the globe will wobble or fall. Press the soil gently around the opening if you see a visible gap.
A good seal looks simple: the tip should sit snugly in moist soil, with no large air pocket around it and no visible stream of water rushing out.
Watch the globe after insertion. A slow change in water level is normal. If the water disappears immediately, remove it and inspect the opening, soil texture, and angle. A fast release often means the tip has a loose channel rather than a close soil contact.
For another practical walkthrough, see this guide to using watering globes.
Newly potted plants need special handling. During the first 3 to 6 weeks, new roots may not have reached the reservoir, so water from the top while the plant establishes. Independent guidance for newly potted plants in self-watering pots also recommends allowing the reservoir to empty before refilling and flushing it periodically to limit mineral salt buildup and odor.
Finding Your Refill Rhythm Through the Seasons
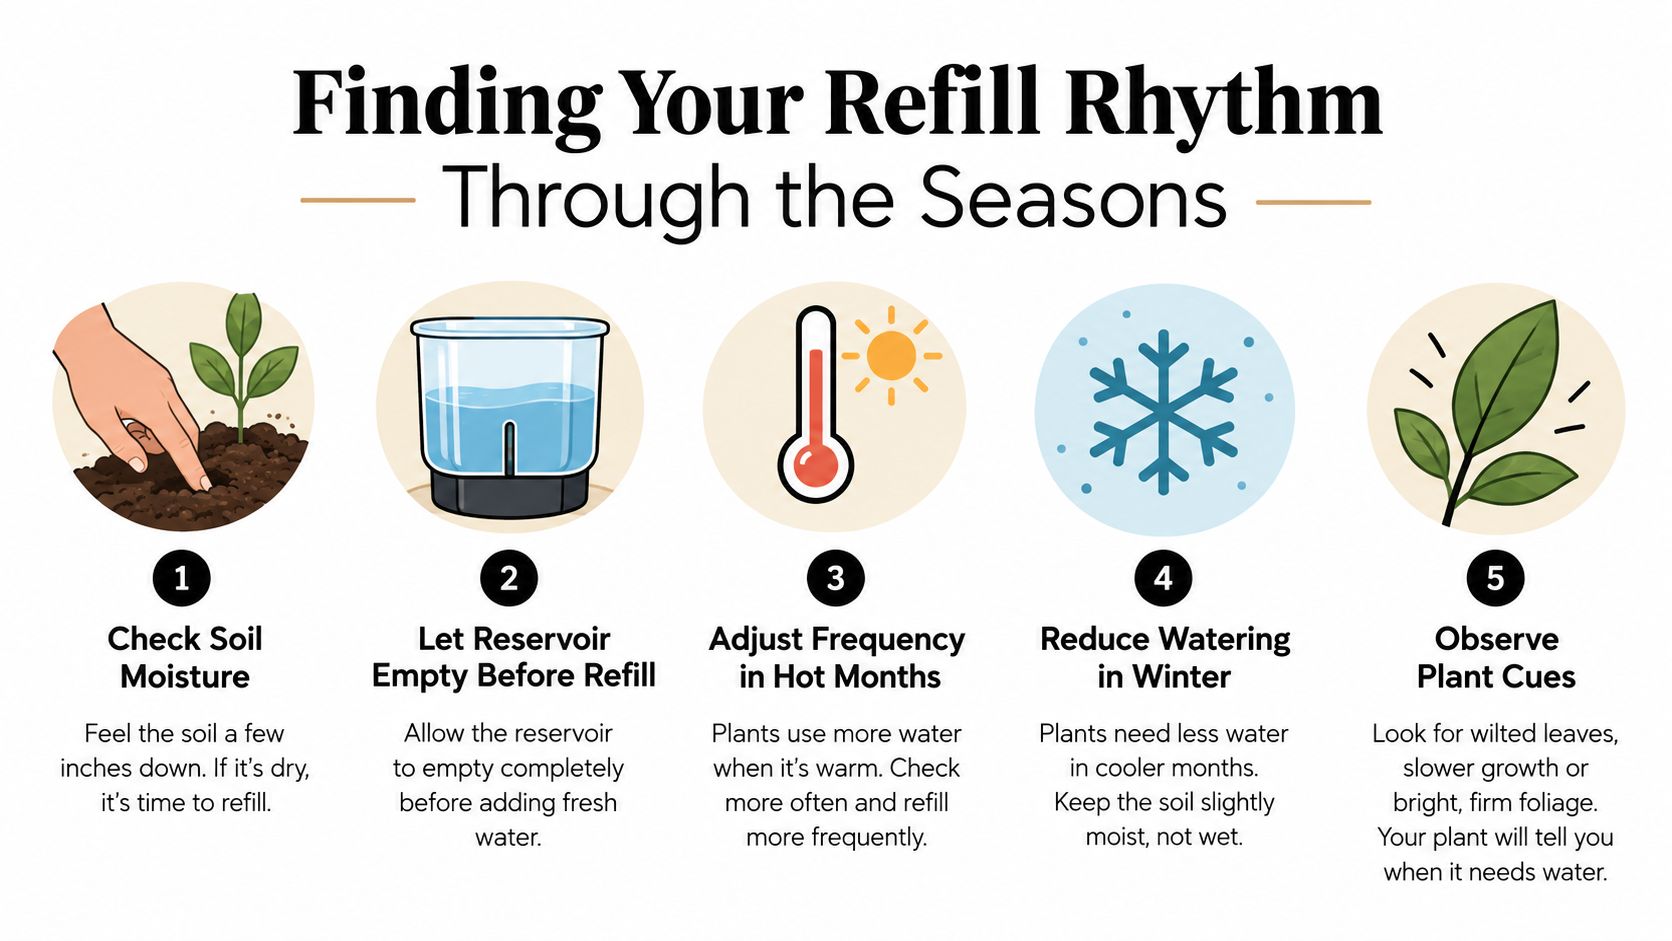
A reservoir should support your routine, not replace observation. Check the soil with a clean finger, especially near the upper portion of the pot. If the surface looks dry but the lower mix remains comfortably moist, you may not need to refill yet.
Let the reservoir empty before adding more water. Keeping it permanently full can leave the root zone wetter than the plant needs. After the reservoir empties, wait long enough to assess the soil, then refill to the marked threshold or overflow level. Don't pour past that point.
Read the room, not the calendar
Light, heat, airflow, plant size, and pot size all affect water use. A container in strong sun can dry much sooner than one in a cool, shaded room. University of Maryland Extension notes that, in full sun during July and August, a container may need daily watering and use roughly 1 to 2 quarts per day. That example shows why reservoir capacity and evaporation matter more than a universal schedule.
Many self-watering pots last about 7 to 14 days per refill, although larger reservoirs or cooler conditions can extend that period, according to independent refill guidance. Treat that range as a starting point, not a promise for every plant or home.
| Condition | What to Check | Refill Action |
|---|---|---|
| Newly potted plant | Roots may not have reached the reservoir | Top-water during the first 3 to 6 weeks, then introduce reservoir use gradually |
| Bright, warm location | Soil and reservoir may dry faster | Check more often and refill only to the safe threshold |
| Cool or shaded location | Moisture may linger near the roots | Wait longer and avoid topping up automatically |
| Reservoir empty | Soil may still hold usable moisture | Feel the root-zone mix before refilling |
| Dry, wilted plant | Soil may have lost its moisture pathway | Rehydrate from the top, let excess drain, then resume reservoir use |
Flush the reservoir periodically with fresh water. This helps reduce accumulated mineral salts and stale smells. Keep a small note on your phone during the first refill cycles, recording when you filled the pot and what the soil felt like later. Soon, you'll recognize its normal pace.
Troubleshooting Slow Flow Clogs and Overwatering
A globe that seems “broken” often has a soil or fill-level problem. Fine particles can block the tip, compacted mix can interrupt capillary contact, and an overfilled reservoir can keep the root zone too wet. Check those simple causes before replacing the globe.
If water won't flow, remove the globe and inspect the tip. Rinse it with clean water and clear visible soil gently. Re-moisten the surrounding mix, make a fresh pilot hole, and insert the globe at a slight angle. Avoid forcing the tip through hard, dry soil.
Most self-watering problems start with soil texture, poor contact, or too much water, not with the container itself.
When the flow is too fast
A globe that empties quickly may have a loose opening or an air channel around the tip. Reinsert it into a smaller, snugger pilot hole. An adapter or tip cover can also help with flow control and keep fine soil from entering.
If the soil stays soggy, remove the globe or stop filling the reservoir for a while. Check whether the pot has a functioning overflow hole and whether the mix feels dense. Replacing compacted soil with a chunkier, aerated container mix can improve airflow around the roots.
When the plant has dried out
Very dry soil can lose its ability to pull moisture upward effectively. One plant-care guide recommends top-watering a dry plant once, allowing the soil to saturate for about 1 to 5 minutes, then letting excess water drain before returning to reservoir use. See this guide to signs of overwatering when leaves begin to droop, yellow, or soften.
Succulents and other dry-soil plants may be poor candidates for constant reservoir moisture. If the plant prefers a drying period, use a traditional pot or a carefully controlled top-watering routine instead.
Everyday Care Travel and Gifting Made Simple
Self-watering care becomes easiest when you keep the routine small. Check the plant, feel the soil, inspect the reservoir, and refill only when the conditions call for it. That's enough for most everyday situations.
Before a trip, water a newly established plant from the top if the mix is dry, then fill the globe or reservoir to its safe level. Don't soak the plant repeatedly just because you'll be away. The goal is steady moisture, not a saturated root zone.
Reservoir-based systems commonly support coverage measured in days to weeks, and many independent sources describe 7 to 14 days per refill for many pots, with longer use possible in larger containers or cooler conditions. Your own plant may use water faster in bright, warm conditions, so test the setup before relying on it during travel.
For offices and small apartments, decorative globes can make plant care feel less utilitarian. Keep the glass clean, check the tip for soil, and choose a size that fits the pot rather than crowding the plant. A simple globe can also make a thoughtful gift for a new homeowner, frequent traveler, or friend learning plant care.
Little Green Leaf offers hand-blown glass Plant Watering Globes in 100 ml, 200 ml, and 350 ml sizes, with designs such as multicolor, clear rainbow, and mushroom styles. Optional tip covers and adapters are available for different soil conditions, making them one decorative option for gradual hydration in small pots and medium planters.
Visit Little Green Leaf to explore decorative self-watering globes for everyday plant care, travel, and thoughtful gifting. Choose a size that suits your pot, establish the roots with top watering first, and build a calm refill rhythm from what your plant shows you.