

Swedish Ivy Propagation: A Calm Beginner-Friendly Guide
You're looking at a Swedish ivy that's getting a little long, and you're wondering whether one small snip could become another plant for the windowsill, desk, or kitchen counter. It can. Swedish ivy propagation is a gentle, forgiving project, especially when you focus less on rushing roots and more on helping them survive the move into soil.
The easiest place to begin is with a healthy stem cutting. You'll choose the right piece, decide between water and soil, keep the environment steady, and give the new plant time to settle. Swedish ivy doesn't demand specialist equipment, and a missed day of attention usually isn't the end of the story.
Why Swedish Ivy Is One of the Easiest Plants to Multiply
A favorite Swedish ivy often gives you a clear invitation. Its stems trail over the edge of a pot, one section looks a little bare, and you find yourself wishing you could make the plant fuller without buying another one. A healthy tip cutting can turn that wish into a small, independent plant.
Swedish ivy, Plectranthus verticillatus, grows with flexible stems and leaves arranged around points called nodes. A node is the small joint where a leaf joins the stem. When you place that part of the stem in water or moist rooting media, it can produce new roots, which is why a carefully chosen cutting is more useful than a random piece of foliage.
A reassuring way to think about it: you aren't creating a plant from nothing. You're giving an already growing piece of Swedish ivy the conditions it needs to continue.
The plant's forgiving nature also comes from its willingness to grow from vegetative material. A successful cutting produces a new plant with the same general foliage form and growth habit as the parent, rather than starting from seed and waiting for a more unpredictable result. That consistency is useful when you want a matching group of plants for a shelf or a fuller container.
The timeline is steady rather than instant. The University of Florida IFAS guide to Swedish ivy says stem tip cuttings will root within about one month in clean rooting media. It also notes that rooted stem cuttings can allow the plant to survive indefinitely when maintained well, so this small project can become a long-term way to multiply your collection.
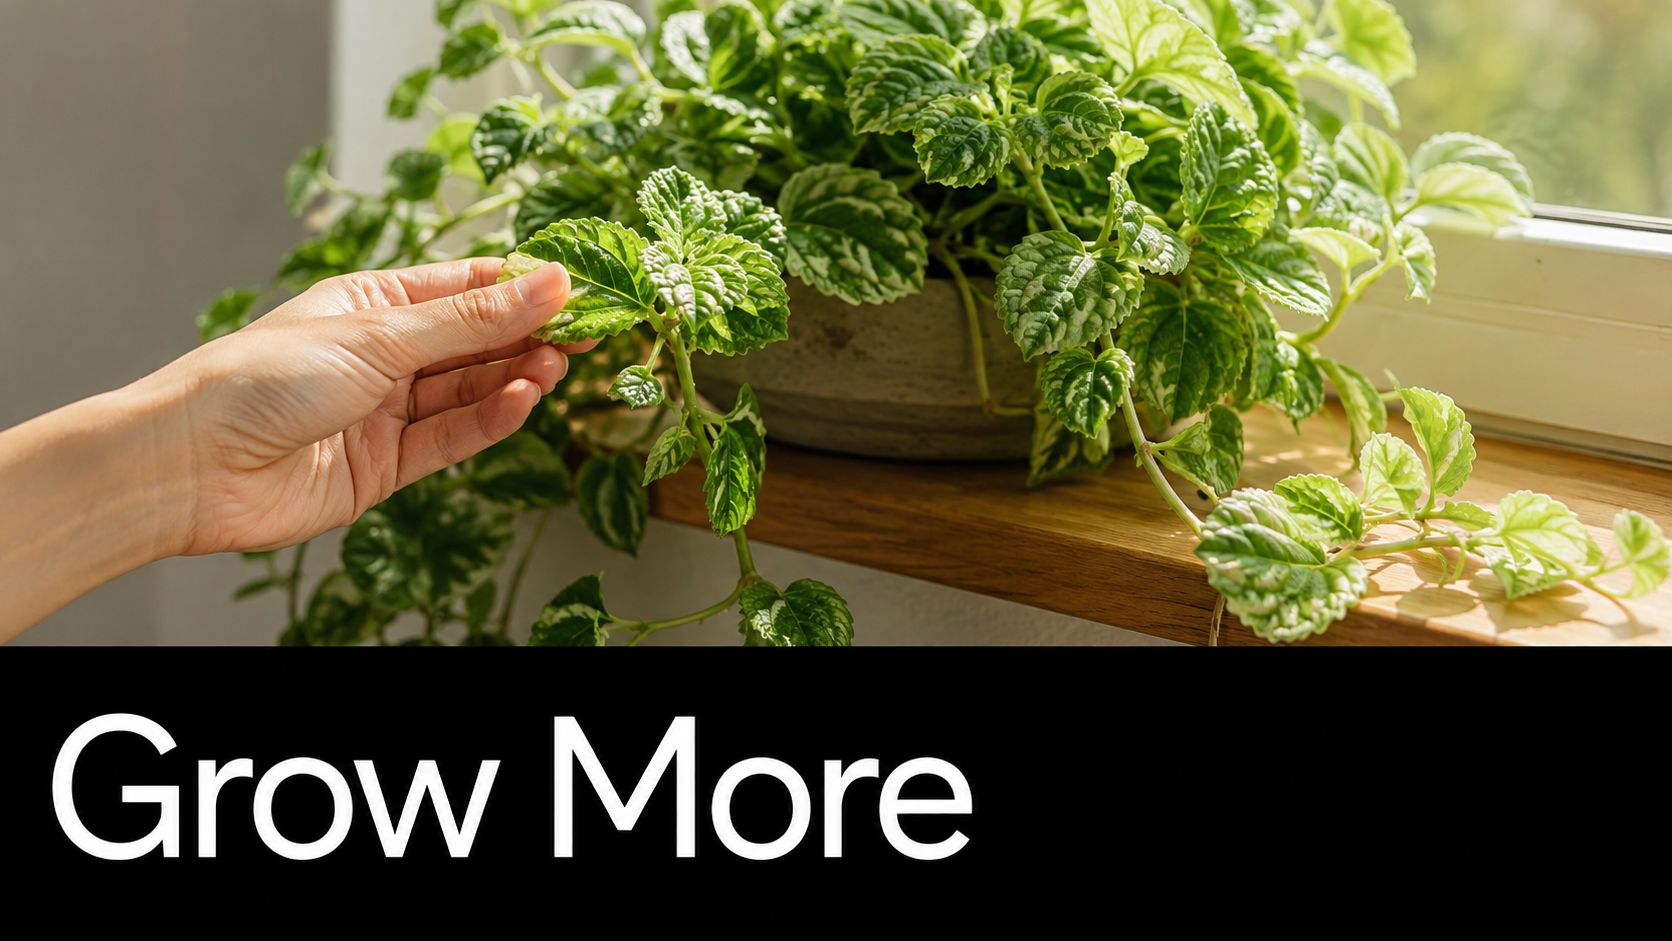
If you're new to houseplants, Swedish ivy is a friendly place to practice because the process is visible and manageable. You can also pair this project with other easy houseplants for beginners, building confidence one uncomplicated plant at a time.
What makes a cutting worth taking
Look for a stem that feels firm, looks green, and has several healthy leaves. Avoid a stem that is already flowering, badly damaged, or soft near the base. You want a growing tip with enough nodes to support rooting and enough foliage to continue making energy.
The first cut doesn't need to be perfect. A clean snip, a suitable node, and a calm setup matter more than complicated technique. Once the cutting is placed in a bright, indirect location, your main task is to keep conditions consistent while it develops.
Getting Ready With Supplies and the Right Cutting
Preparation removes most of the uncertainty. Before you touch the parent plant, set up a small workspace where everything is within reach. You'll need clean scissors or pruners, a small glass jar if you're using water, and either fresh water or a light, moist potting mix for direct rooting.
Choose a bright spot that receives plenty of light without harsh, direct sun. Strong rays can dry a leafless cutting quickly, while a dim corner may leave it without enough energy to form roots. A windowsill with filtered light or a bright spot a short distance from a window usually gives you a calmer starting environment.
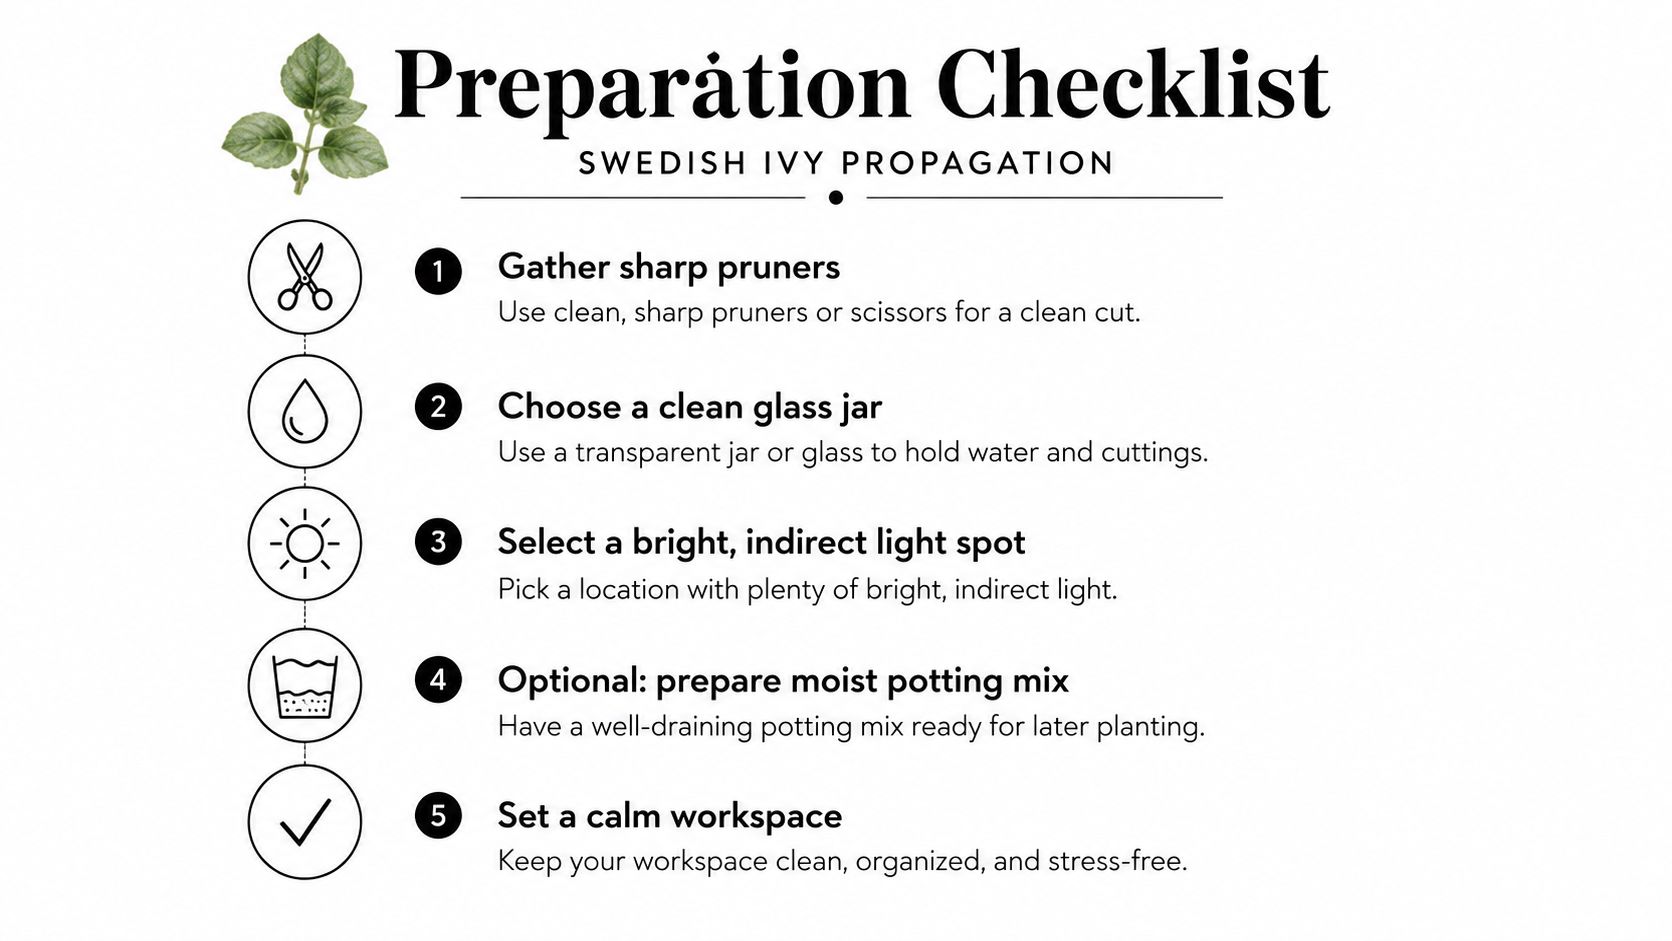
Choosing the stem
Take a 4 to 6 inch non-flowering stem tip, cutting just below a leaf node. The Healthy Houseplants Swedish ivy care guide recommends a cutting with 2 to 3 nodes, because those joints give the cutting several opportunities to produce roots.
Remove the leaves from the lower part of the stem. Any leaf that sits in water or touches moist soil can decay, and that damaged tissue may spread problems to the stem. Keep the upper leaves intact, since they help the cutting continue its normal functions while roots are forming.
- Use a clean blade: Wipe scissors or pruners before cutting so the fresh stem has a tidy surface.
- Keep the tip healthy: Select a section with firm growth rather than a bruised or mushy area.
- Prepare the medium first: A cutting shouldn't sit around while you search for a jar or mix.
- Leave the leaves above the surface: Only the bare lower stem belongs in water or rooting media.
Late spring through early summer often provides naturally active indoor growth, but a healthy Swedish ivy can be propagated indoors throughout the year. Your home's light and temperature matter more than forcing the project into a narrow calendar window.
If you prefer to watch the process, this Swedish ivy propagation video can help you visualize where the node sits and how much lower stem to clear.
Water Rooting vs Soil Rooting
A water-rooted cutting gives you a small window into the process. You can watch roots appear through the glass, which helps a beginner judge whether the stem is progressing. Soil rooting keeps the cutting in its final environment from the start, so there is no later transfer, although the roots remain hidden.
The main difference appears after roots form. Water-grown roots develop in water, then must adjust to soil. That change is usually manageable if you transplant at the right stage. Waiting too long can leave a longer, more delicate root system that adapts less easily.
Guidance on root development and transplanting Swedish ivy cuttings places visible water roots at about 1 to 3 weeks. Transplanting is generally safest when they reach about 1 to 1.5 inches. Roots longer than about 1 to 2 inches may have a harder adjustment.
| Factor | Water rooting | Soil rooting |
|---|---|---|
| Visibility | Roots develop where you can watch them through the glass. | Progress stays hidden until new growth or gentle resistance suggests rooting. |
| Main advantage | The jar provides feedback and makes monitoring simple. | The cutting avoids a water-to-soil transition. |
| Main risk | Leaving the cutting in water too long can make acclimation more difficult. | Excess moisture can encourage rot around the buried stem. |
| Best fit | Beginners who want visible feedback and can check the jar regularly. | Travelers or busy apartment dwellers who prefer one stable routine. |
| After roots form | Move it into soil while the roots remain modest, then keep the new soil evenly moist. | Maintain steady moisture and leave the cutting undisturbed as much as possible. |
Choose water if seeing progress will help you stay patient and you can check the jar. Choose soil if you want to plant once and avoid a later move. The comparison is similar to learning to ride with training wheels versus starting on the path itself. Water offers more guidance along the way, while soil removes one adjustment later.
For a traveler, soil rooting may be easier to maintain in one protected spot. For an apartment grower who checks plants often, water rooting offers useful visual feedback. Neither method suits every routine. The better option is the one whose moisture needs you can maintain without constant changes.
Caring for Cuttings Until Roots Form
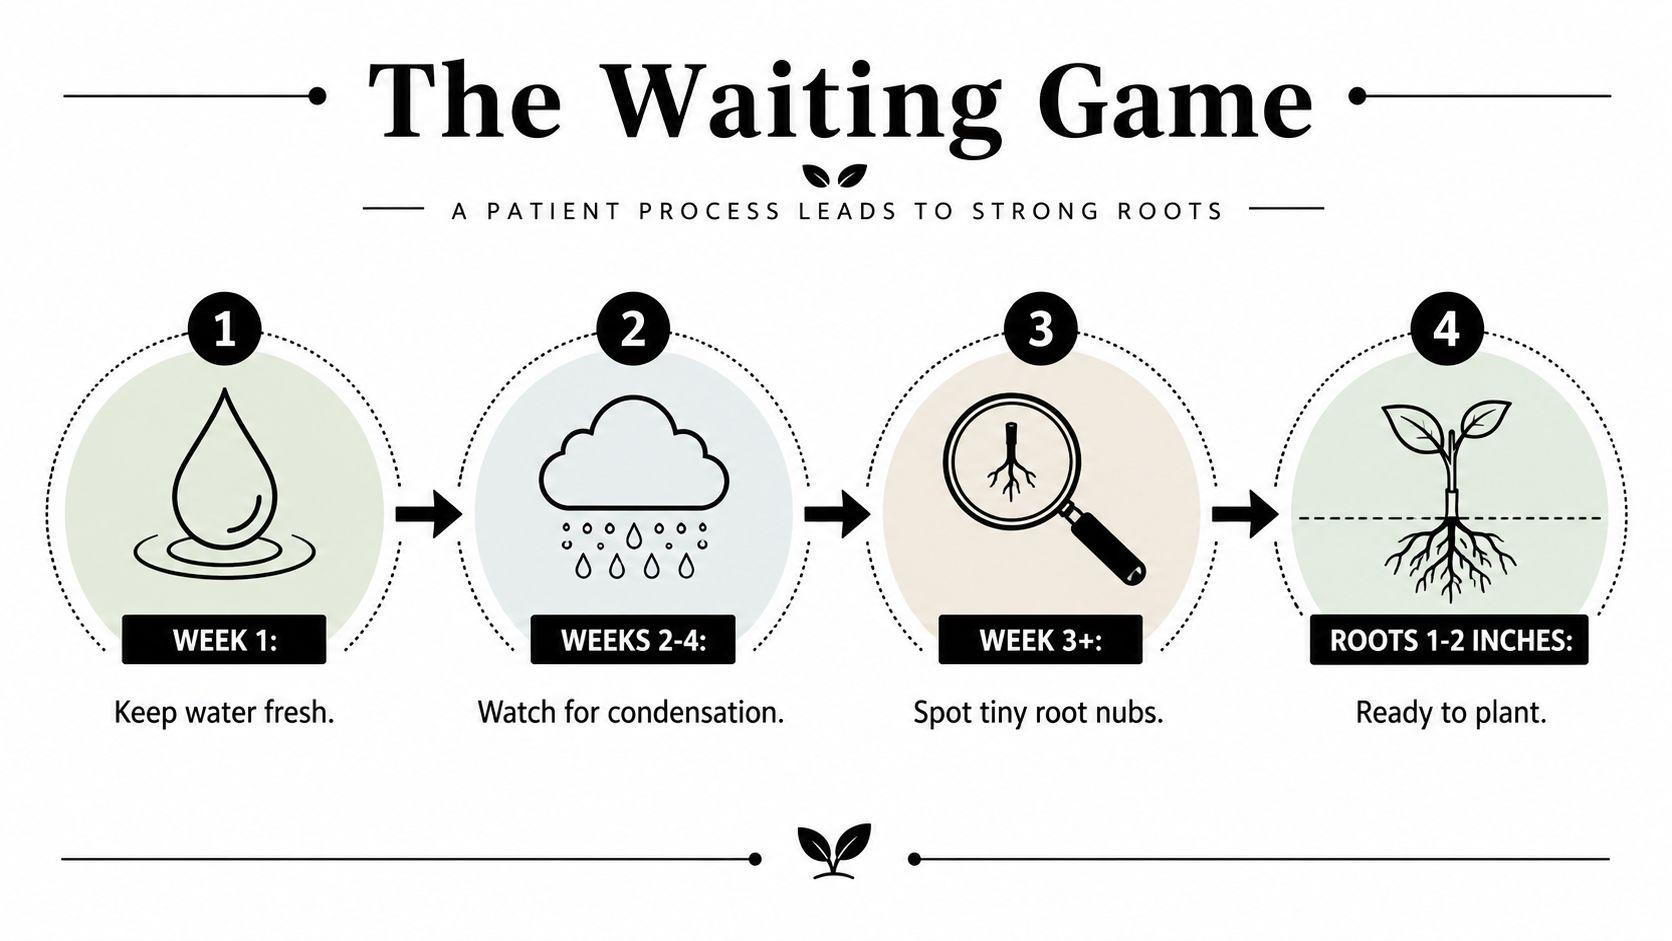
You have placed the cutting in water or soil, and now the best help is often a steady routine. Set it in bright, indirect light and leave it there rather than moving it from window to window. Consistent conditions make genuine changes easier to notice.
For water propagation, keep the bare nodes below the waterline while keeping every leaf dry. Change the water every 3 to 4 days, following this Swedish ivy water propagation guide. Each refresh keeps the jar cleaner and lets you check that the stem is still firm. If it becomes soft or dark, remove the damaged section before placing the cutting in fresh water.
Roots can appear in 7 to 10 days, although another commonly given window is 1 to 2 weeks. A delay does not automatically mean the cutting has failed. In clean media, rooting may take about a month, so judge progress by the cutting's condition as well as by visible roots.
Keeping soil cuttings comfortable
A soil-rooted cutting needs a medium that is moist but still airy. Touch the surface occasionally, inspect the stem, and leave the cutting in place. Pulling it up to look for roots is like opening a healing bandage repeatedly. Fragile new roots can break before they become visible.
Firm green stems and fresh, pale growth are reassuring signs. Yellowing leaves, a soft stem, or a sour smell suggest excess moisture or decaying tissue. Remove affected material, improve drainage, and let the medium become less saturated before watering again. This steady approach also suits apartment dwellers and travelers better than frequent adjustments.
Rooting hormone is optional. Some propagation guidance uses it to support faster or more reliable soil rooting, and one account reports about a 20% increase in success rate with soil propagation. Treat the product as an extra aid, not a requirement. Clean cuts, suitable moisture, and patience still do most of the work.
Once several cuttings have rooted, planting 3 to 5 rooted cuttings in a 6-inch pot can produce a fuller-looking plant. Leave enough space for each root system, then keep the new pot in the same gentle light while the group settles. Water when the medium begins to dry, rather than following a rigid schedule.
Dividing a Mature Swedish Ivy Plant
Cuttings are ideal when your Swedish ivy has long stems to spare. Division makes more sense when the plant is already dense, crowded, or visibly outgrowing its container. Instead of waiting for a bare stem to form roots, you separate existing stems and roots into smaller living clumps.
Start with fresh potting mix, clean containers with drainage, and a clear surface where you can work without rushing. Watering the parent plant beforehand can make the root ball easier to handle, but it shouldn't be dripping wet when you remove it.
Separating the root ball
Slide the plant from its pot while supporting the stems near the soil line. Gently loosen the outer roots with your fingers, then look for natural sections where several stems connect to their own portion of roots. Separate the root ball into two or three clumps, making sure each piece has both roots and active stems.
If roots resist, tease them apart gradually rather than pulling hard on the foliage. A clean knife can help with a stubborn section, but many Swedish ivy plants can be divided by hand when the root ball is loose enough.
Repot each clump at the same general depth it was growing before. Press fresh mix around the roots, water lightly to settle the soil, and return the divisions to bright, indirect light. Keep them away from intense sun and avoid repeated handling while they recover.
Division gives you a fuller starting point than a single stem cutting, but it requires an established plant with enough root structure to share. If your Swedish ivy is trailing and leggy, take cuttings. If it has become a crowded mass, division may be the more direct refresh.
Troubleshooting Common Propagation Problems
Propagation usually goes wrong for a small, fixable reason, not because you lack a special green thumb. Start by checking the cutting's contact with moisture. Leaves should stay out of water and off wet soil, while the nodes should have access to the medium.
Yellow leaves don't always mean the cutting needs more water. They can point to an overly wet environment, insufficient light, or stress after a move. Mushy stems are a stronger warning that damaged tissue or rot is developing, so remove the soft section and restart with a firm, clean portion if one remains.
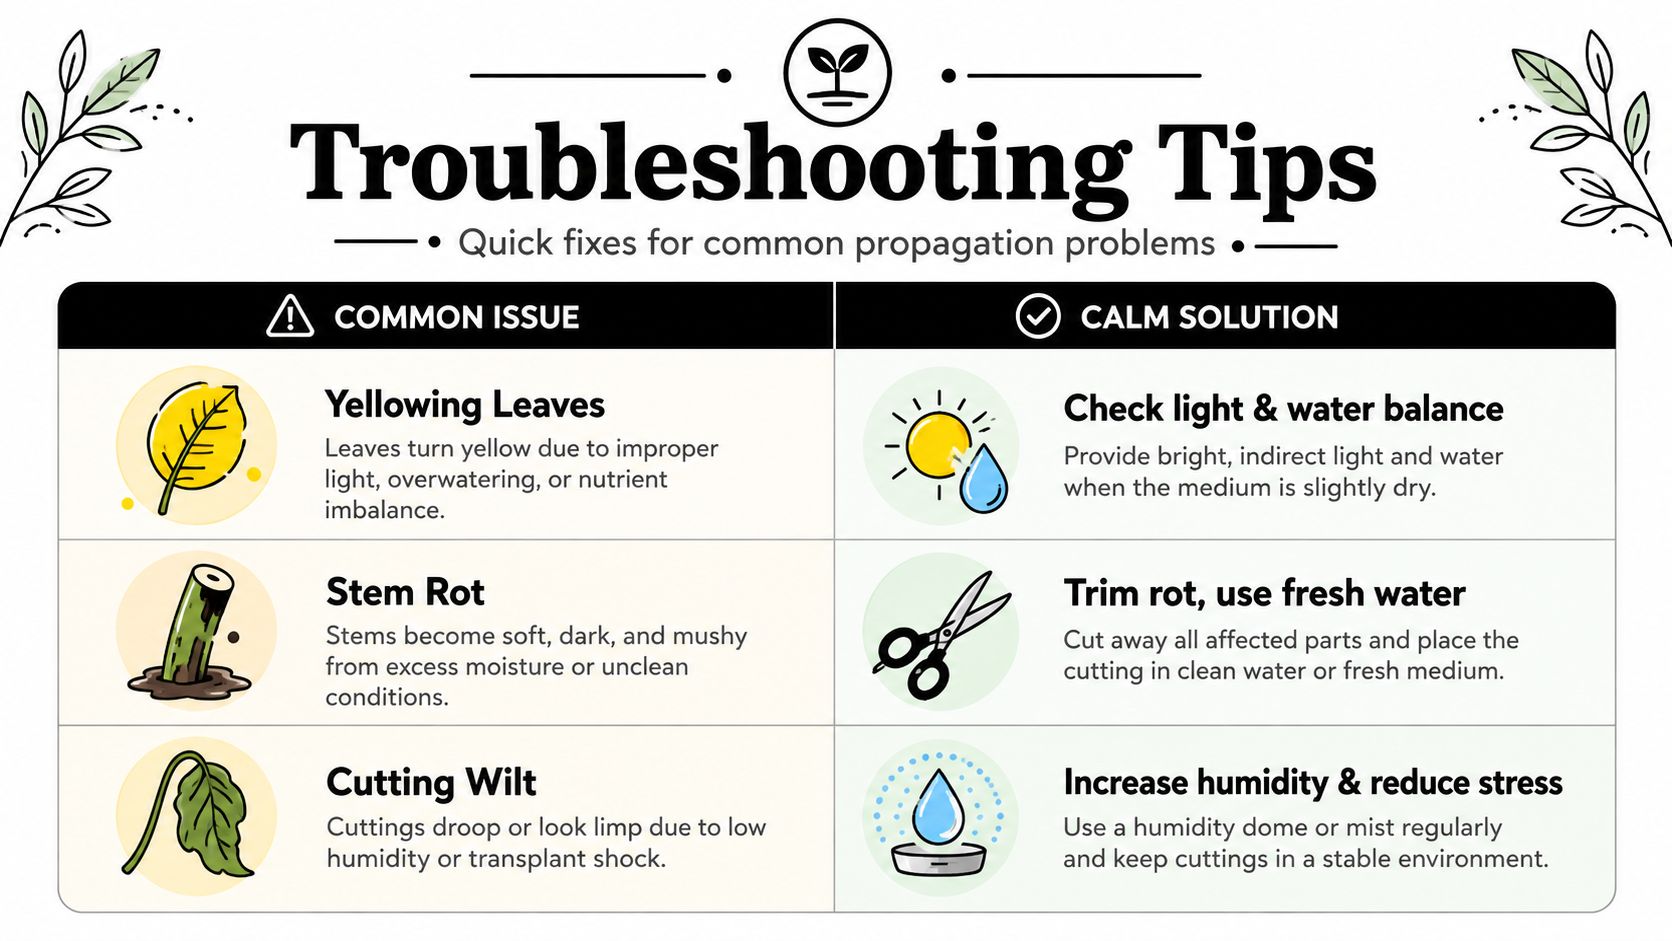
Small adjustments that often help
- Leaves are submerged: Remove the lower leaves and keep only bare stem below the waterline or soil surface.
- Only one node is buried: Reposition the cutting so 2 to 3 nodes have a chance to root.
- Water looks cloudy: Replace it with fresh water and check the stem for soft tissue.
- The cutting wilts after potting: Reduce direct light, keep the medium evenly moist, and avoid moving it repeatedly.
- Roots are long at transfer: Move water-rooted cuttings sooner, while the roots remain modest, instead of waiting for a tangled mass.
- The pot looks sparse: Group several rooted cuttings together rather than expecting one cutting to fill the container immediately.
More water won't necessarily produce faster growth. Swedish ivy cuttings need moisture, but they also need air around the stem and roots. For additional guidance on moisture-related problems, see this practical resource on preventing root rot in houseplants.
Aftercare, Travel Tips, and a Routine That Sticks
A newly potted Swedish ivy cutting needs the same basic kindness as the parent plant, bright indirect light, balanced moisture, and time to adjust. Keep the pot in a familiar spot, check the soil before watering, and avoid feeding until the plant shows active new growth.
At two weeks, you may be watching for roots or signs that the cutting remains firm. At one month, a rooted cutting can be ready for its next potting decision, depending on the method and its growth. By three months, consistent care may have transformed a small piece into a visibly fuller trailing plant, though the pace will vary with light and conditions.
For travel or busy workweeks, a gradual hydration tool can reduce the need for frequent attention, but it shouldn't replace checking the soil and drainage. Little Green Leaf's guide to keeping plants watered while on vacation offers a useful way to think about hands-off care before you leave.
The best routine is the one you'll repeat. Give your cutting a clean start, choose water or soil based on your schedule, and let steady care do the rest.
Little Green Leaf offers decorative self-watering globes that provide gradual hydration for propagated plants, established houseplants, and travel days. Visit Little Green Leaf to find a practical, beautiful watering companion for your growing collection.